

I gain a quiet sense of satisfaction from seeing through the seasons and creating something delicious with the harvest. From that first blossom in spring, to the emerging fruit, then watching it soften and become ripe. It is an amazing natural process. But a process that, thanks to supermarkets and modern means of production, we tend to forget about. Making jam also makes me think of women in days gone by; my grandmothers both preserved fruit in jars. It is humbling to think I'm making something thousands of women have made over the years.
Our fruit trees are only three years old but this summer has brought so much fruit the small branches are struggling to cope with it all. I've taken some off, unripe, in order to save the branches, which the chickens very much enjoyed. Then the wasps came. So many wasps this year. But from my young plum tree, a Rivers Early Prolific (living up to its name), I picked a bucket full. Enough for one litre of plum vodka, one giant plum crumble and ten pots of jam.

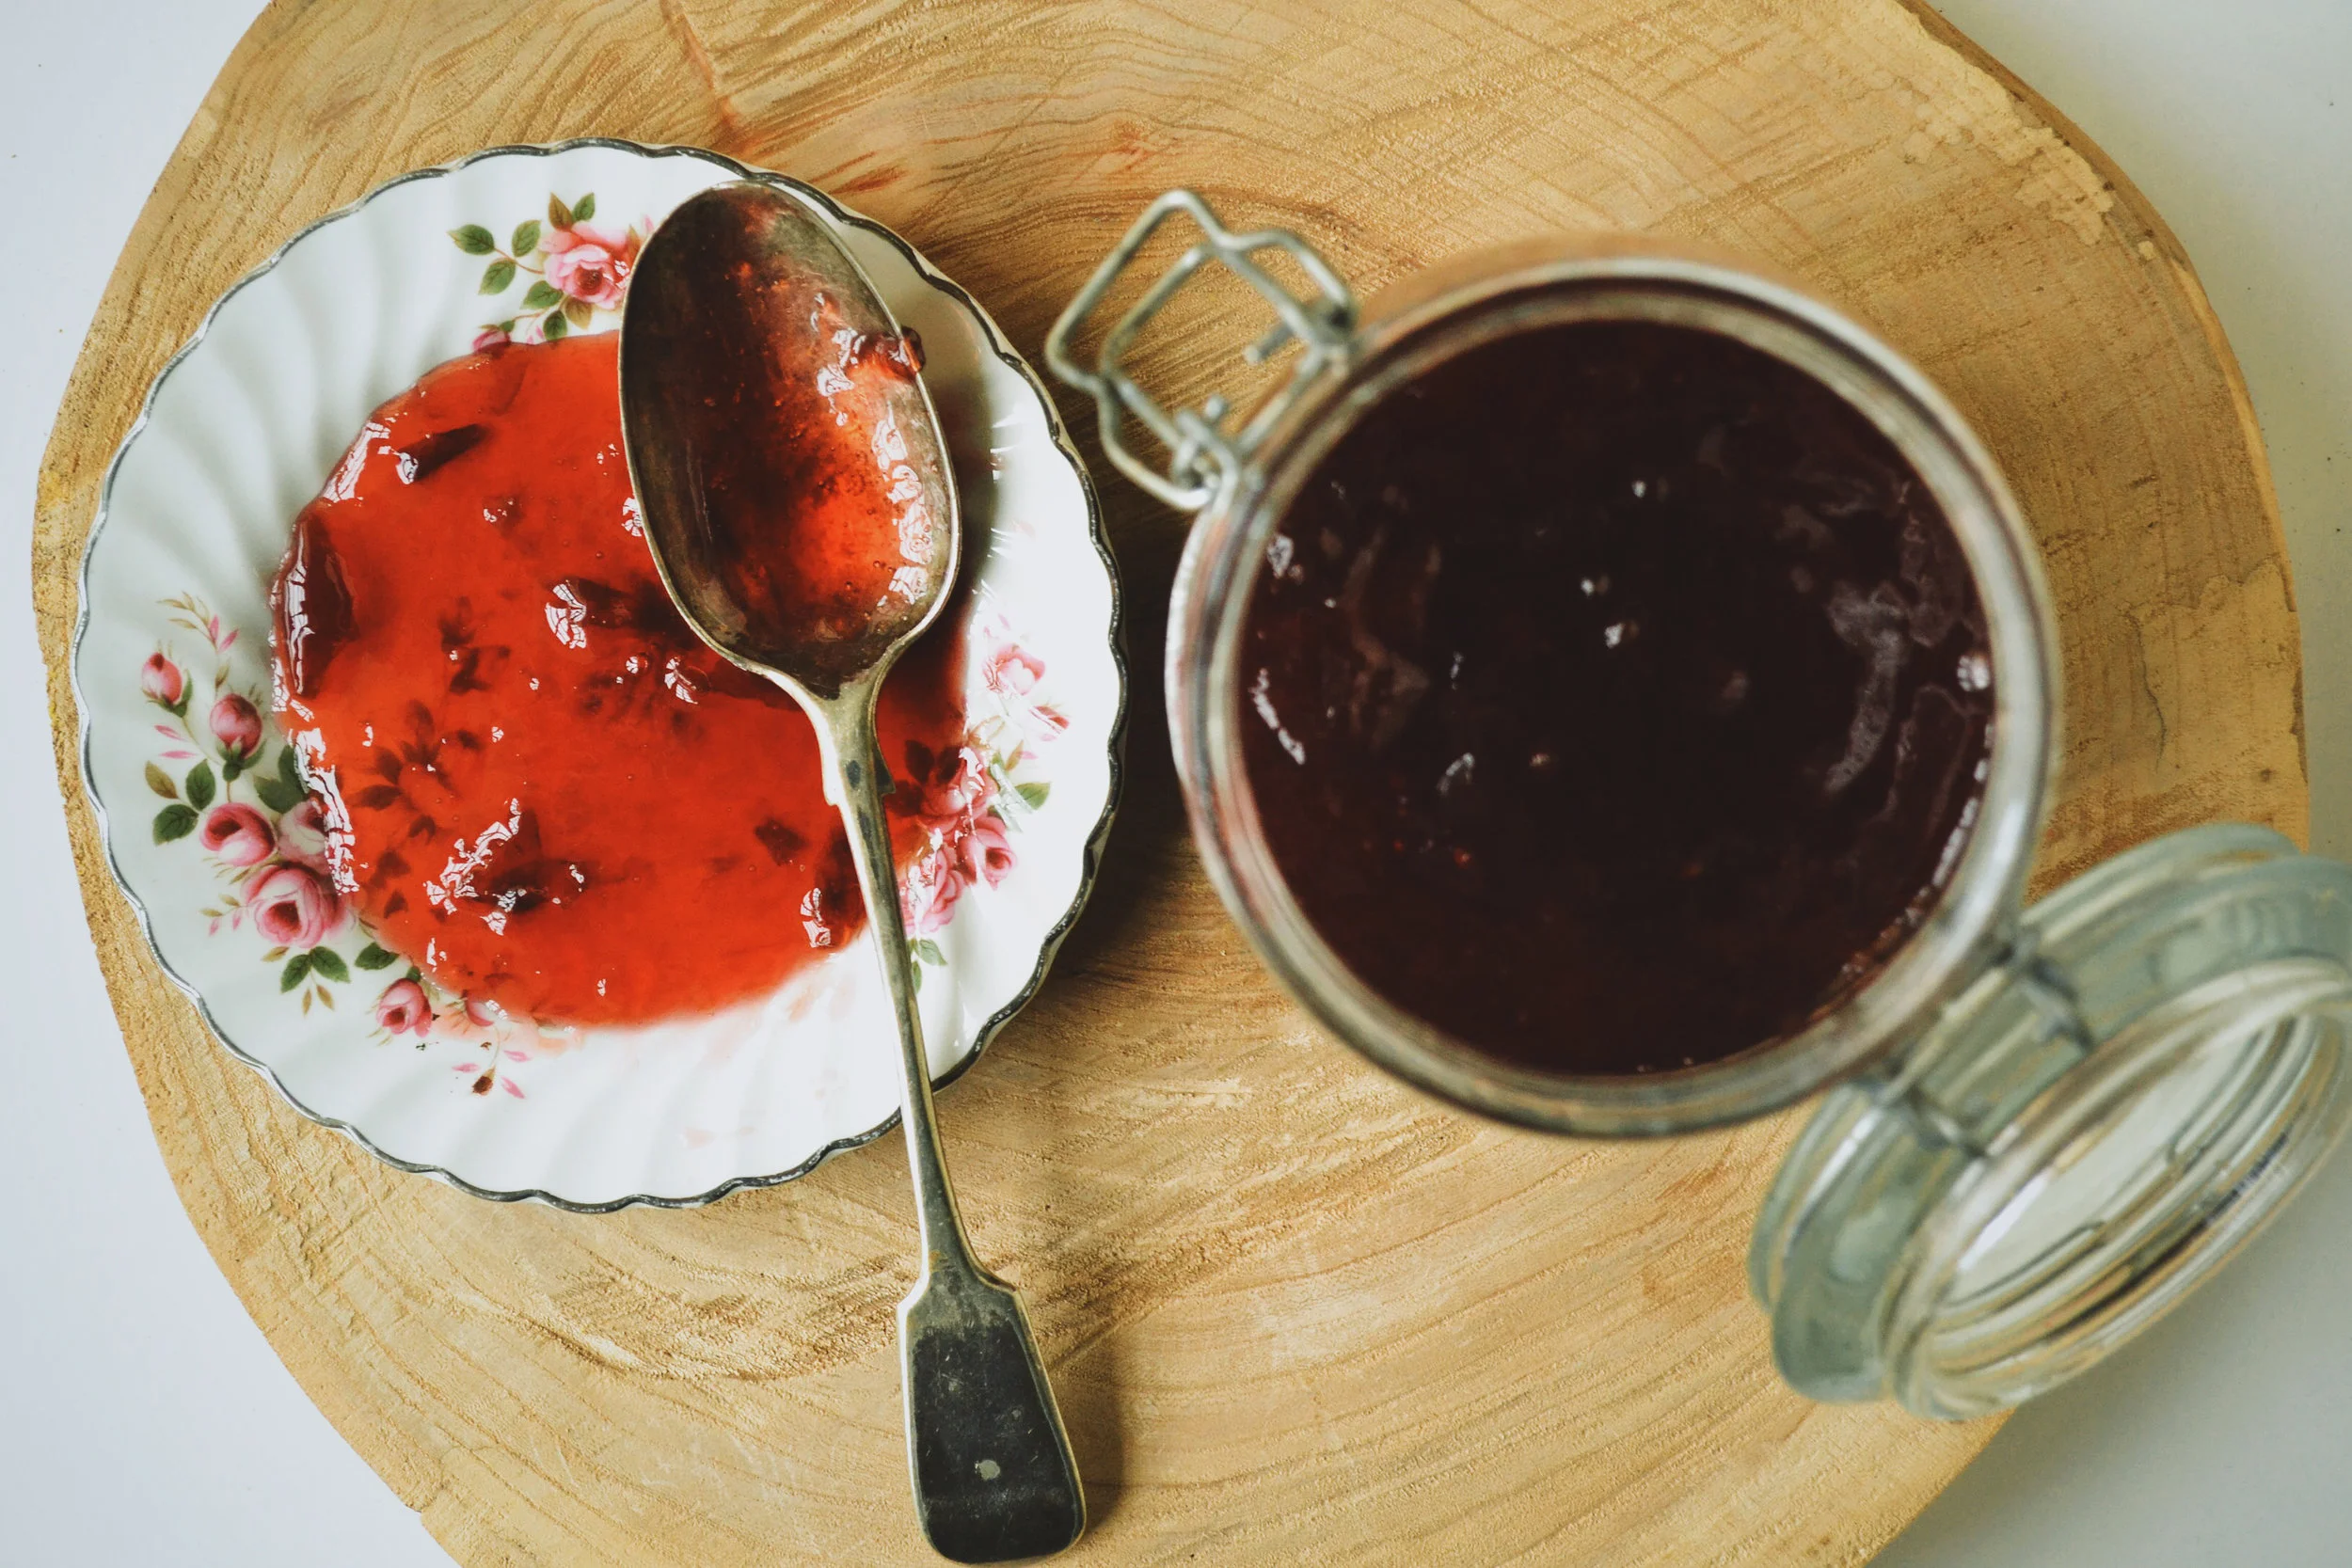
This is my grandmother's easy plum jam recipe. You don't need any specialist jam making kit and I use just normal white sugar.
Equipment
A large heavy based pan, wooden spoon, a couple of small plates (placed in the freezer) 8-10 clean jam jars, greaseproof paper cut into 8-10 circles (the same size as the jam jars).
Ingredients
- 2kg plums, washed with any bits of stalk removed
- 1.5 pints water
- 2.2kg sugar (any white sugar)
Method
- Place the washed plums in the large saucepan and add the water.
- Stew gently for 30 minutes.
- Skim off the plum stones as they float to the top.
- Add the sugar and stir.
- Boil the jam, rapidly. This is called a rolling boil.
- After 5 - 10 minutes take the jam off the heat and perform a wrinkle test. Take one of your plates from the freezer and spoon a little jam on it. After thirty seconds push your finger through it. If it wrinkles the jam is at setting point. If it doesn't place back on a rapid boil and check in another two minutes. Repeat until you are happy it is at setting point.
- Once it is at setting point turn off the heat. Remove any of the scum at the top with a spoon. Allow to rest for ten minutes.
- Place your jam jars, minus lids, on a baking tray in a low oven to sterilise them. Pour boiling water over the lids.
- Pour the jam into the sterilised jam jars. Place a circle of greaseproof paper on the top of the jam before popping on the lid. Tighten the lid whilst the jam is still warm.
- It can store in a cool dark place for a year or more but once opened keep in the fridge.
