You know when you haven't seen a really good friend for ages but when you meet up it's like you've never been apart? Well, that's how it is with me and homemade damson jam.
And I don't mean it's lesser cousin, shop bought damson jam, I mean HOMEMADE damson jam. Made with a recipe from my grandmother's handwritten recipe book.
I have been looking forward to making damson jam now for two whole years. We planted the tree about four years ago and it bore fruit in it's second year. Only enough for about four jars of jam, but that was four jars of a-mazing jam.
Then, last year, there was nothing. Not a single solitary damson.
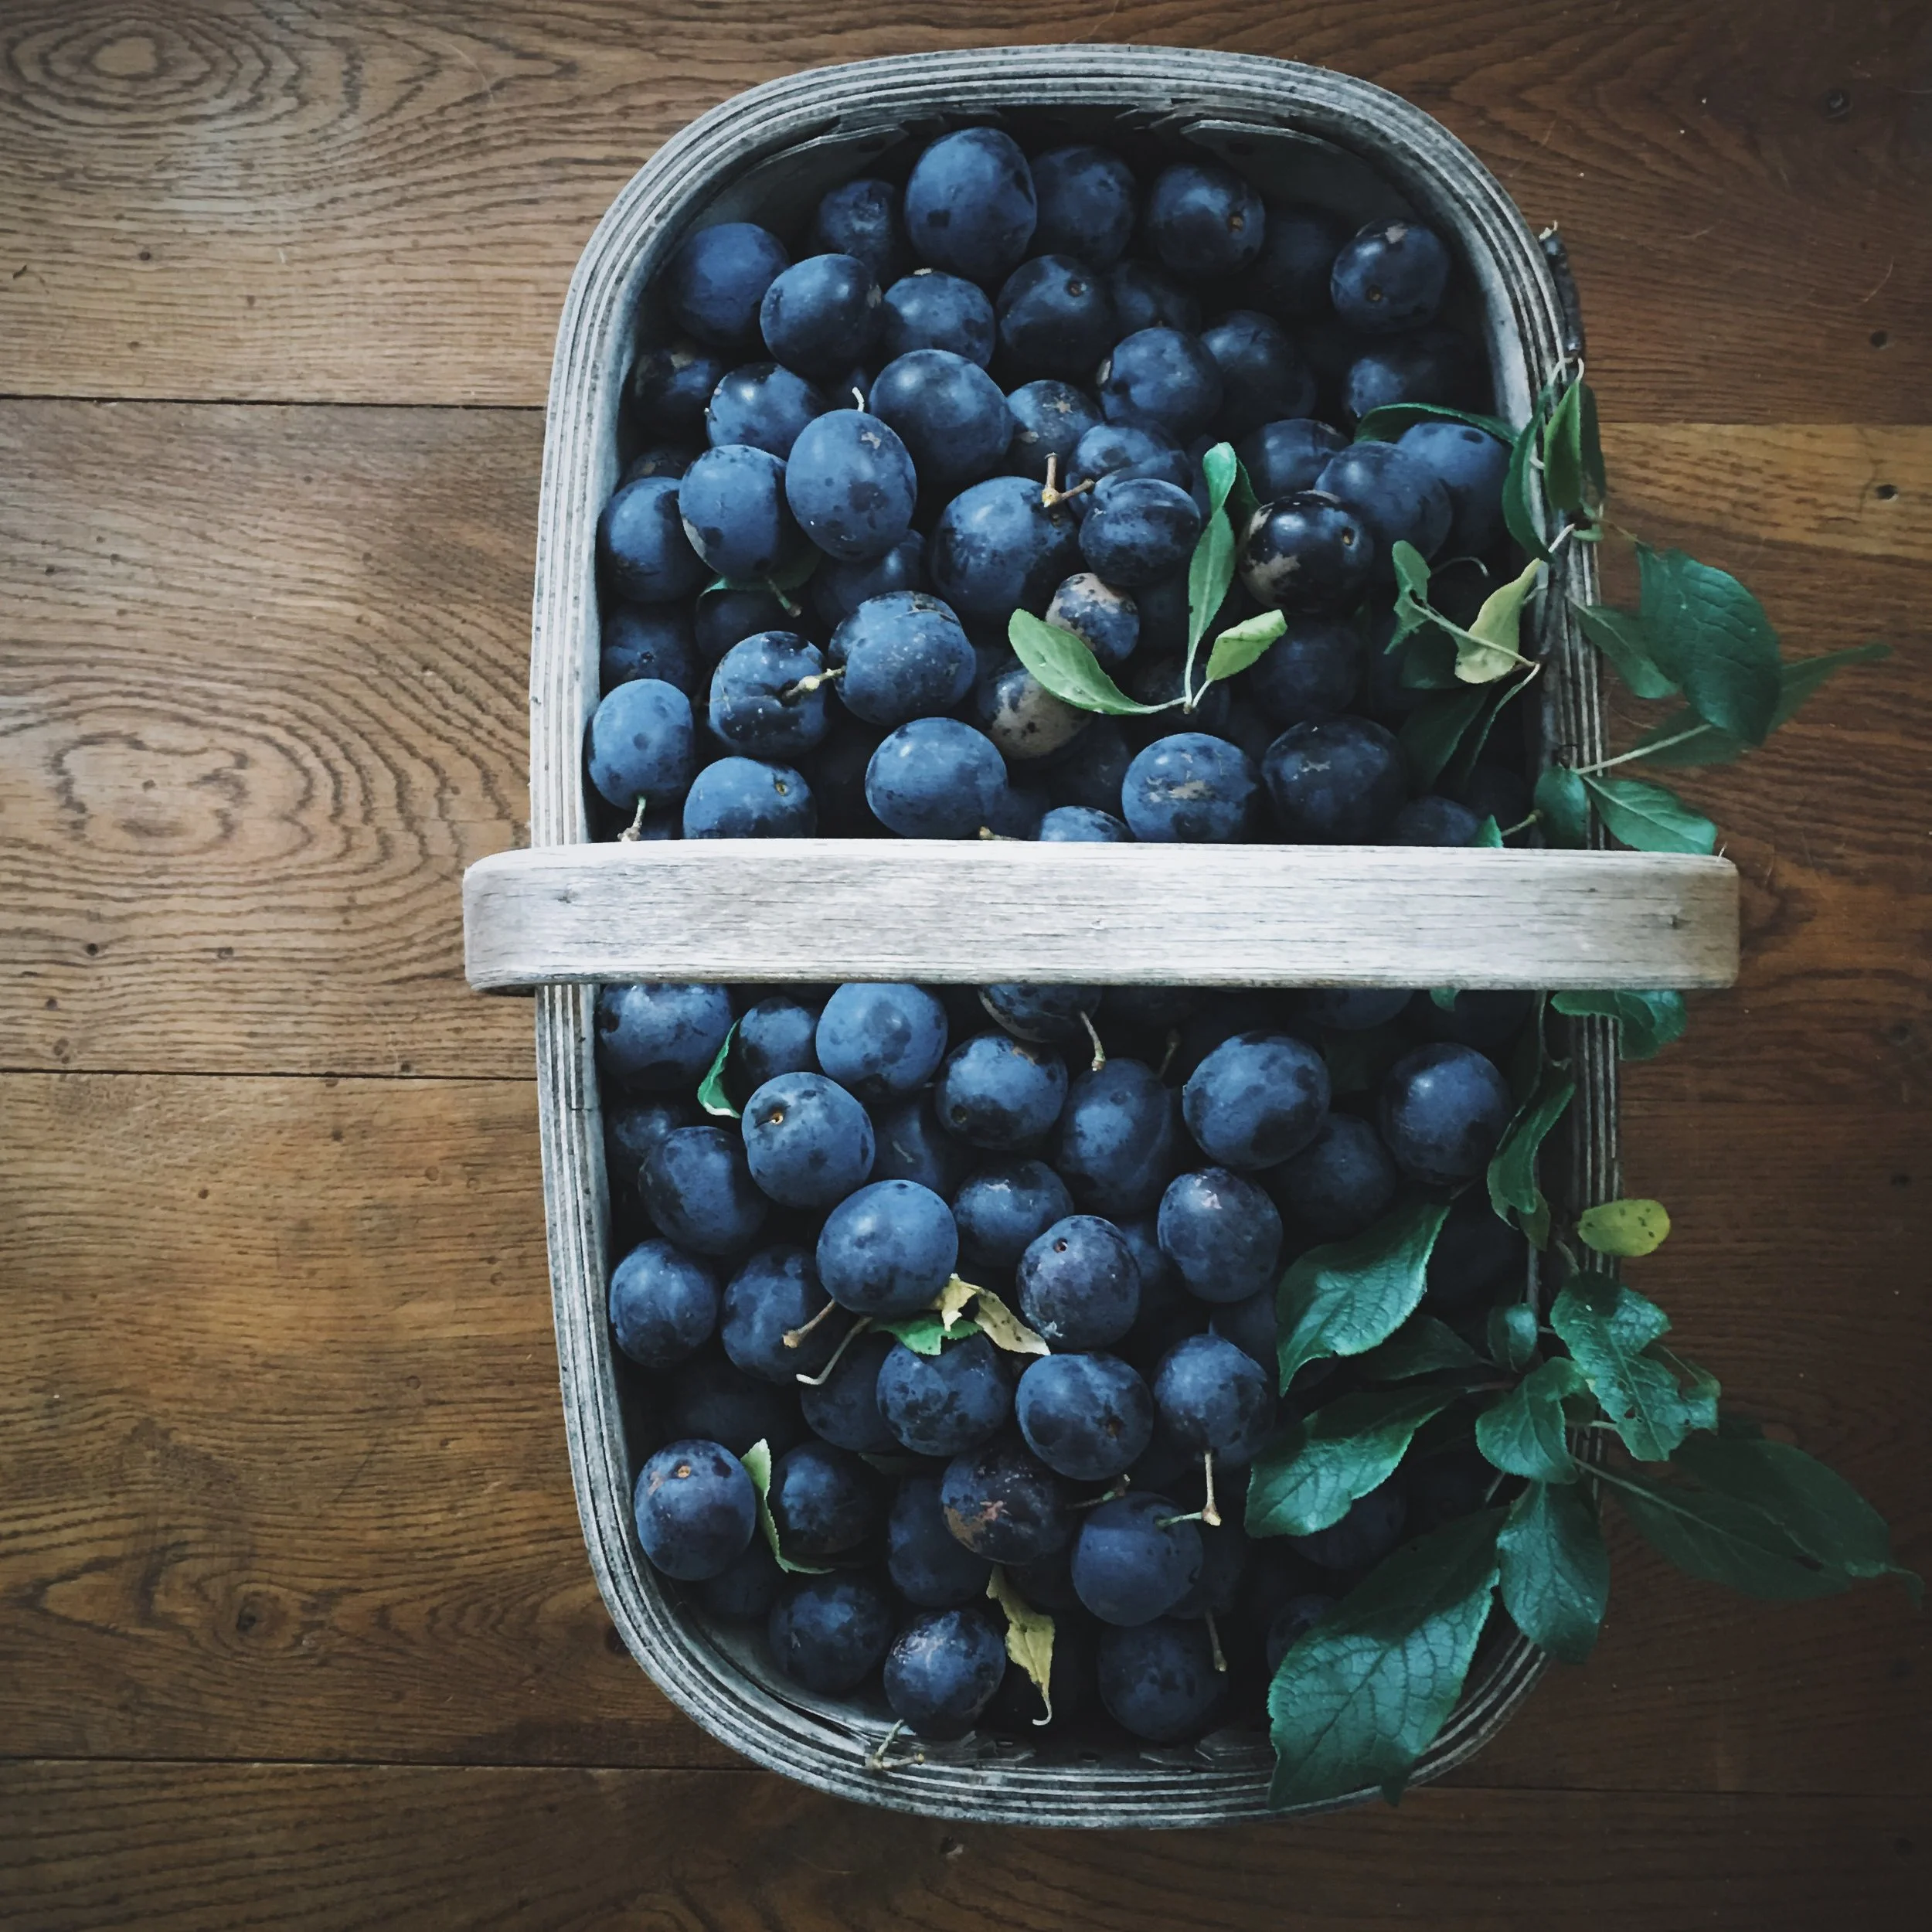
But, thankfully, and with great joy, this year there is lots. I've picked a trug full where I've used half to make ten jars of jam. There must be another three trug-fulls, at least, on the tree. That's a lot of jam to make.
And now I'm eating it - slathered on sourdough toast with salted french butter. It's like we've never been apart. The joy of the taste has returned - it is just so good - and it is exactly like I've remembered.
Watch the video below to see my tree and how I made it.
RECIPE FOR HOMEMADE DAMSON JAM
Equipment
A large heavy based pan, wooden spoon, a couple of small plates (placed in the freezer) 8-10 clean jam jars, greaseproof paper cut into 8-10 circles (the same size as the jam jars).
Ingredients
- 2kg damsons, washed with any bits of stalk removed
- 1.5 pints water
- 2.2kg sugar (any white sugar)
Method
(You can also see how I made it in the video above)
- Place the washed damsons in the large saucepan and add the water.
- Stew gently for 30 minutes.
- Skim off the damson stones as they float to the top.
- Add the sugar and stir.
- Boil the jam, rapidly. This is called a rolling boil.
- After 5 - 10 minutes take the jam off the heat and perform a wrinkle test. Take one of your plates from the freezer and spoon a little jam on it. After thirty seconds push your finger through it. If it wrinkles the jam is at setting point. If it doesn't place back on a rapid boil and check in another two minutes. Repeat until you are happy it is at setting point.
- Once it is at setting point turn off the heat. Remove any of the scum at the top with a spoon. Allow to rest for ten minutes.
- Place your jam jars, minus lids, on a baking tray in a low oven to sterilise them. Pour boiling water over the lids.
- Pour the jam into the sterilised jam jars. Place a circle of greaseproof paper on the top of the jam before popping on the lid. Tighten the lid whilst the jam is still warm.
- It can store in a cool dark place for a year or more but once opened keep in the fridge.


