A friend of mine has just asked me to give her some tips on Pinterest. She thinks it's going to be the next big thing and, quite honestly, I agree with her. In fact, I'd say that Pinterest is already a brilliant resource (and often under-utilised) for bloggers and businesses. And if you want to grow your audience and grow your traffic then creating an account on Pinterest has to be high on your 'to do' list.
I was a little sceptical at first. I thought, for Pinterest, you had to have a defined niche (and this is how I feel about that.) That you had to focus on one particular topic and have all your Pinterest boards related to it.
But now I feel it can work, even if your blog is more a magazine of you and your creativity rather than a specific niche.
Now, before we go much further, you will notice that I've not got tens of thousands of followers on Pinterest. In fact, I'm around seven hundred (although this time last year I had less than 100). And that's fine because having followers on Pinterest is not as important as it is on Instagram and Twitter. Why? Because Pinterest is a search engine not a social media platform.
What's more important is the key words you use to describe your pins and being a member of group Pinterest boards.
Now there are lots of technical articles out there about Pinterest. They talk of creating business accounts and metadata. They talk of enabling rich pins and Pinterest analytics. And I'm sure it's all simple once you get your head around it.
But this post is for people who, like me, want to know the more techy bits at some point, BUT - for the time being, just want to create an account relevant to our blogs and start pinning. It's too much trying to take on everything at once. One step at a time!
So let me tell you why I think Pinterest is important from a creative blogging perspective.
Pinterest, during December sky-rocketed the views to my blog. Why? Because of one pin that was shared on a group board.
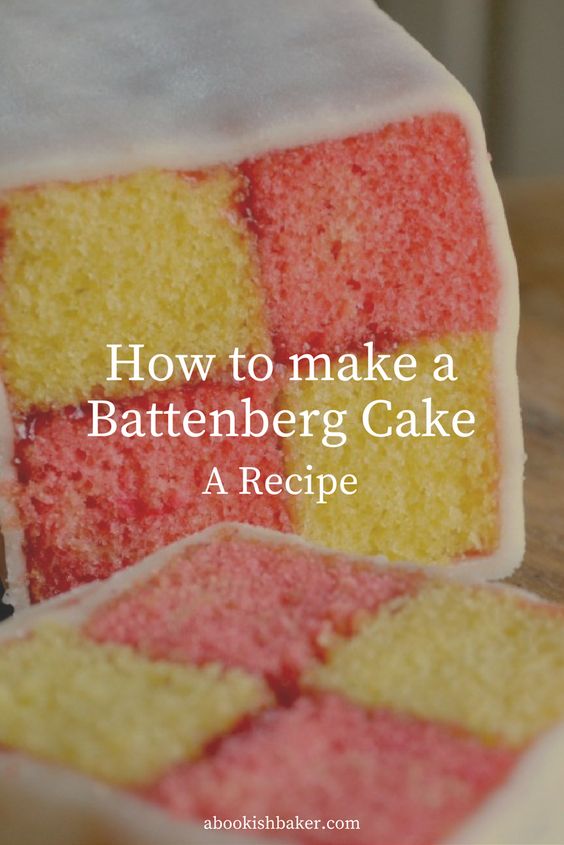
Let me give you an example by using the pin below I posted on December 1st 2017. It was for a blog post I initially titled 'My Christmas Reading List'. I shared the post on Instagram and Twitter. Via Instagram I got quite a bit of traffic for a day or two. On Twitter less traffic for a smaller period of time.
Unlike Instagram, on Pinterest I got little initial traffic. But it grew over time. Throughout December my traffic surged up and up. And at some point I thought - how can I keep this going after Christmas? So I changed the pin to 'My Winter Reading List' and re-pinned it. And it did even better.
In the months before Christmas this year I believe it'll pick up again as people start re-pinning it to their seasonal boards.
This is called 'evergreen content'. Content that doesn't have an expiry date but is relevant every year. In this example it's more seasonally evergreen but hopefully you get my point.
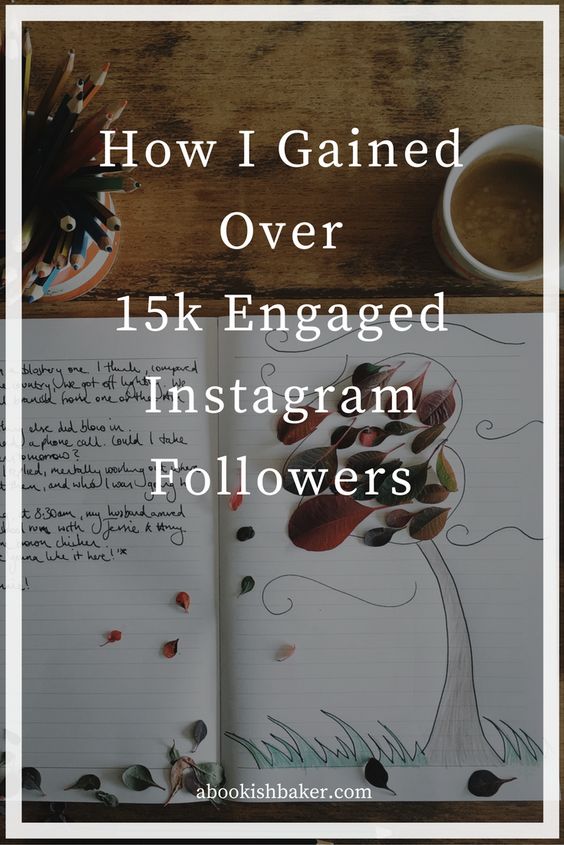
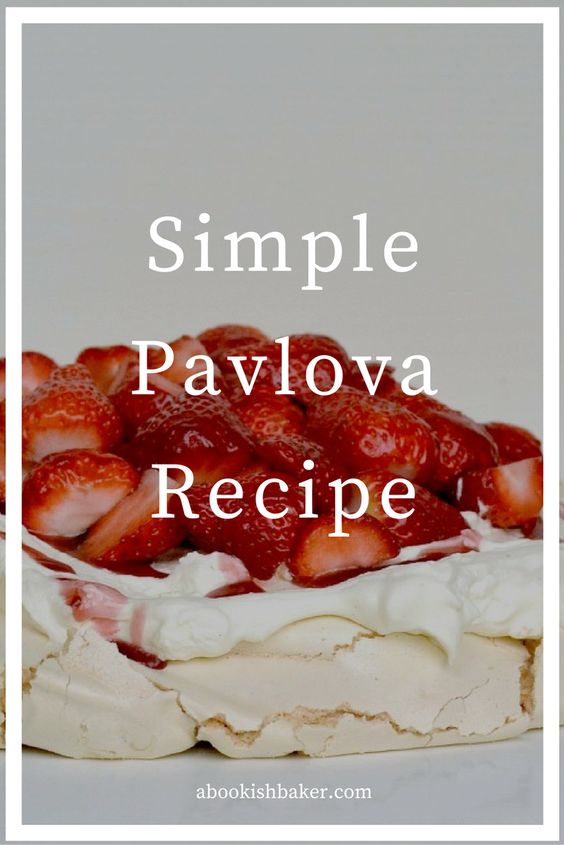
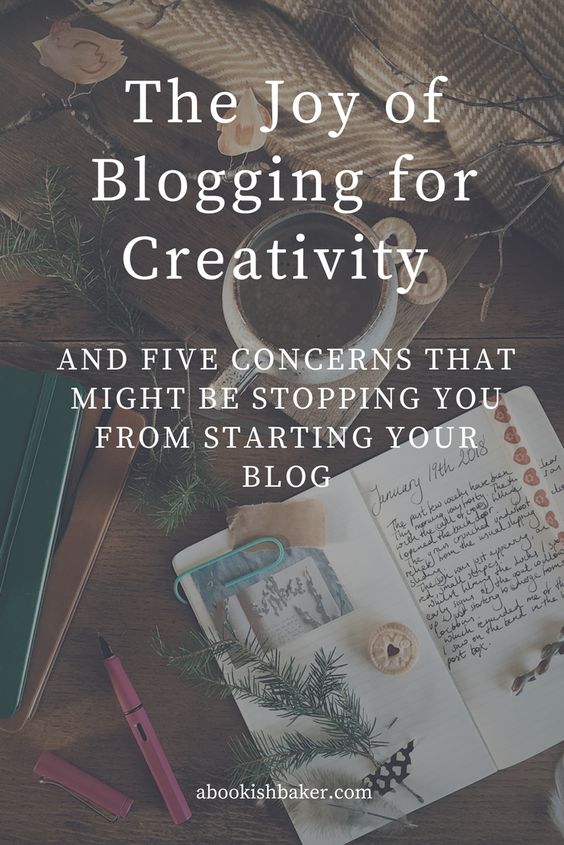
The ones below have also done well for me on Pinterest. These aren't tied to any particular season so do well all year around:
Even if I haven't posted that week and shared new posts on Instagram, Twitter and Facebook, these pins are still working in the background and bringing in viewers to my blog.
There is the argument that these viewers don't stick around. They just view that article and leave (this would be demonstrated as having a high bounce rate in your blog stats). And yes, with Pinterest there is an element of that. But I know for a fact that one of my students on my current blogging ecourse found me via Pinterest, via the book pin above in fact, so you can find the right like-minded people. Readers who want to read your blog regularly and become subscribers.
So, what do you have to do if you want to find readers via Pinterest?
1. Create an account on Pinterest
When you create an account it'll ask you for gender, age and so on. You can skip these if you don't feel it's relevant.
It'll also ask you for five interests. Click on anything relevant. If you can't come up with 5 then click anything and you can delete it once your account is set up.
To change your name (it'll automatically take the first part of your email) then click on the three dots and edit settings. Here you can change your profile name and claim your website.
There is an argument for upgrading your account to a business account which you can do for free. This will not only provide you with analytics but will also enable you to create rich pins. 'Rich pins' are rich with data from your blog on the actual pin itself which is more likely to make people want to click through.
I've had a business account on Pinterest for some time but have only just applied for rich pins so I know it's not a necessity for those starting out. (You can find out how to transfer your personal Pinterest account into a business one here).
So, if you look into creating a business account and the information overwhelms you - ignore this for now and just concentrate on creating a personal Pinterest account.
2. Create a name and a description
I've called my account by my blog name rather than my personal name. And I've also put in a line (|) so that I can describe who I am.
Then I have a link to my blog, my location (England) which I think might only be available to business accounts, and a few lines of description that fits in with the rest of my online presence.
3. Start creating your boards
I add to my boards all the time. Some I keep secret, some are group boards but the majority all fit in with the subjects I blog about, tweet about or talk about on Instagram. It is, essentially, all of the categories - and more, from my blog.
For each board you can give a name and a description. Use keywords to help get discovered in the search bar. And use straightforward titles using words people would type into search. Nothing ambiguous.
4. Make your boards look like your 'brand'
If you notice from my screenshot the colours look like the colours from my blog and my Instagram feed.
You'll also see that there is one big square picture. This is a cover picture that I have 'set' for each board. You can do this by clicking on the icon to edit each individual board and clicking on 'cover'. You'll be given a number of options to have as your cover page. I like to use my own photographs for this on the whole.
5. Names of boards
Now there are two schools of thoughts on this:
a) is to create boards that your audience will be interested in. So if you're a business such as an online yoga coach (for example!) create boards that people who enjoy yoga might be interested in. Not just yoga but food, life quotes, relaxation methods and so on. By creating boards for them they'll find you and may go on to subscribe to your blog and purchase your online yoga services and/or products.
Or,
b) if you're a creative blogger and your blog is about you and your interests then create boards to reflect those. That way you'll attract like-minded people who subscribe to your blog. This is the way I do it. I tried doing it the other way but lost interest as it wasn't about me. That sounds narcissistic I know, but I find it boring pinning for an audience - so I pin things that I'm interested in. And it feels more genuine because of that, I think.
My boards, as I've already said, reflect the topics I write about on my blog. This is constantly evolving as just the other day I added a 'fictional interiors' board.
6. Creating pinnable images
When you're writing a blog post add a vertical image with text overlay that you can easily create in Canva (it even has a template specifically for a Pinterest image). Vertical images tend to do best within Pinterest and some group boards insist on them. So at the bottom of this post you'll find a large image with text overlay using the same title as the blog post. I'll post this in my blog board, plus my board on Creative Blogging Tips and some of the social media group boards I belong to.
The reason I put it on more than one of my Pinterest boards is because someone might follow my creative blogging tips board but not my blogging board.
7. Get pinning
Pinning little and often gives me good results. And not just pinning my own pins but pinning blog articles I've read and enjoyed, re-pinning from my Pinterest feed and from group boards and from my Instagram account. You can do all of this manually but also using Tailwind for example. Ayelined has a good blog post on using Tailwind.
8. Go through older but still relevant blog posts
Go through your blog and add pinnable images to each post and pin them to your blogging board. Then, within the Pinterest site, add them to other relevant boards you have.
If you have a seasonal post re-pin in the weeks preceding the season. I always re-pin my rhubarb cordial pin in the weeks leading up to rhubarb harvesting season in spring.
9. Explore Pinterest
If you find someone with a few boards you're interested in have an explore around all their boards. Are they in any group boards relevant to you? If so click through to the group board and see what the joining instructions (if any) are.
10. Join my group board
If you write lovely blog posts have a look at my group board 'online stories with heart'. If you'd like to join please message me through Pinterest so I know where you are on there.
Any questions or tips you'd like to share then do leave a comment.
Want to know more about blogging for creativity?
My e-course is due to re-launch in May 2018. Get on the mailing list now for access to early bird pricing.
